How To Build a Vendor Payment Timeline in a Wedding Budget Spreadsheet

The fastest way to blow a wedding budget is not a giant one-time mistake. It is a bunch of smaller payments arriving exactly when you forgot them.
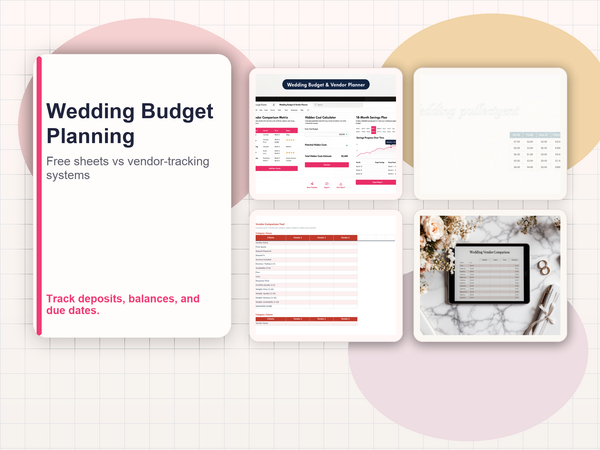
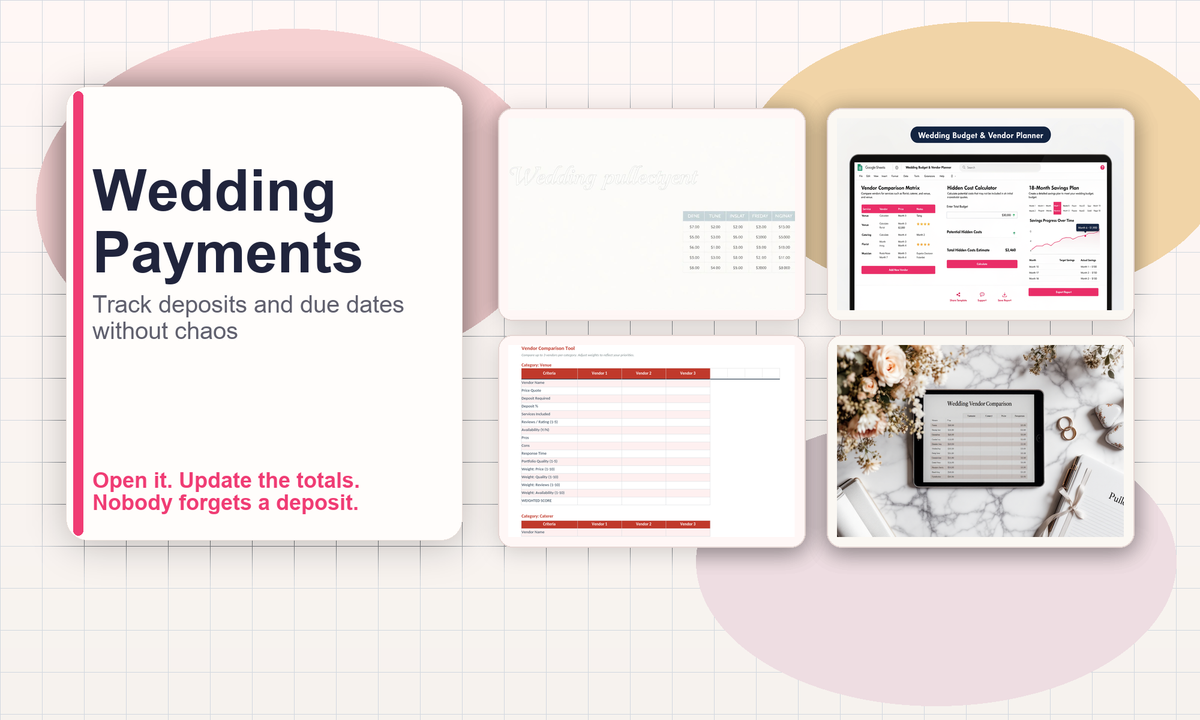
For the simple version, a free sheet can handle rough planning. If you want a spreadsheet that keeps deposits, midpoint payments, and final balances visible, use Wedding Budget & Vendor Planner.
Start with Best Wedding Budget Spreadsheets in 2026.
Who This Is For
This is for couples who:
- Have already started booking vendors
- Need due dates in front of them, not buried in a message thread
- Want to know what is actually committed versus still hypothetical
- Would like to avoid the "we forgot the florist payment" moment
The Short Version
A useful vendor timeline has three columns that matter most:
- Deposit
- Midpoint or milestone payment
- Final balance and due date
Everything else is supporting detail. The spreadsheet should make those three items impossible to miss.
Step 1: List Every Vendor In One Place
Start with the basics:
- Venue
- Caterer
- Photographer
- Florist
- Music or entertainment
- Attire
- Decor
Do not over-engineer this. The goal is to stop missing payments, not to build a wedding planning empire.
Step 2: Track Estimated, Committed, And Actual Amounts
The easiest mistake is assuming "budgeted" equals "safe."
It does not.
You want three different numbers:
- Estimated: what you think it will cost
- Committed: what you have agreed to
- Actual: what you really paid
That gives you a clean way to see the gap before it becomes a problem.
Step 3: Add The Payment Schedule
For every vendor, record:
- Deposit amount
- Deposit due date
- Any middle payment
- Final payment amount
- Final due date
That is the part a lot of generic wedding sheets skip. It is also the part that matters most once the invoices start landing.
Step 4: Sort By Next Due Date
Once the schedule is in the sheet, sort by the next payment date.
That lets you answer:
- What is due this week?
- What is due next month?
- Which vendor is already paid in full?
If you are juggling multiple decisions at once, that one view saves a lot of stress.
Step 5: Review The Timeline Every Week
This is not a once-and-done setup.
Spend five minutes each week checking:
- What is due next
- What has already been paid
- Whether a new booking changes the cash flow picture
You do not need to think about every vendor every day. You just need the spreadsheet to tell you what is coming up before it becomes urgent.
Where The Paid Planner Helps
Wedding Budget & Vendor Planner is the prebuilt version of this workflow.
It helps you keep:
- Budget totals
- Vendor comparison
- Payment schedule
- Due dates
- Committed vs actual spend
That is the part you are paying for. Not "more spreadsheet." Less mess.
When The Simple Version Is Enough
Use a simple sheet if:
- You are still roughing out the budget
- No vendors are booked yet
- You only need a placeholder while you compare options
That is fine. But once money starts moving, the planner version is the one that keeps you honest.
Related Reading
- Wedding Budget Spreadsheet Comparison: Free Sheets vs Vendor-Tracking Planner Systems
- Wedding Budget & Vendor Planner: Compare Quotes, Track Costs
- Budget Template for Newlyweds: How to Set Up Shared Money Without the Drama
Final Recommendation
If you are still in rough-planning mode, a free sheet is enough.
For a wedding budget that shows deposits, final balances, and what is due next, get Wedding Budget & Vendor Planner on Payhip.
If you want to keep all wedding planning in one cluster, go back to the wedding hub and keep the payments visible.
Choose the right next step
The Wedding Budget & Vendor Planner is a wedding vendor payment tracker spreadsheet for budgets, deposits, due dates and final balances in one place.